Lab 2: Building a container
Setup
Now that we’ve covered the basics of running a container it is time to take a look at building our own custom container. For this lab we will use WinSCP to transfer files from the Windows client to the Linux host running Docker.
Launch the ‘WINSCP’ shortcut that is on the Desktop. Be sure to use this link, it should connect and place you in the Folder ‘mycontainer’.

Note
If connection/authentication fails for some reason, here are the relevant information to launch your WinScp session:
- hostname : 10.1.10.11
- login: ubuntu
- ssh key: [On the Desktop]
once logged in:
- on server01: go to /home/ubuntu/f5-intro-to-docker/mycontainer directory
- locally: select your c:\Users\Administrator\Desktop\f5-intro-to-docker\mycontainer directory

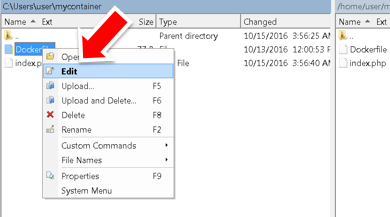
On the left panel, first open Dockerfile by right-clicking on the filename and selecting Edit.
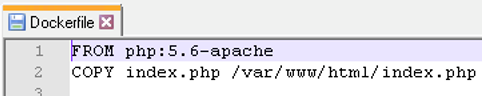
You should see a very simple Dockerfile. This file is used build a container. The first line references which container we want to use as the starting container and the second line references the file that we want to copy into the new container.
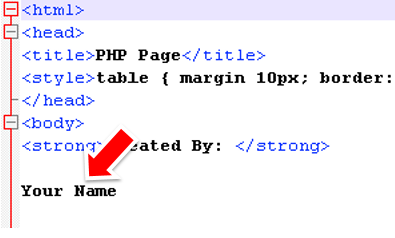
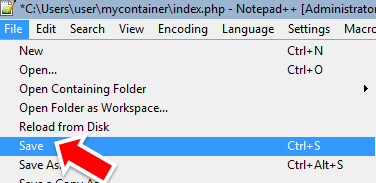
On the left panel, open ‘index.php’ and change the value of Your Name and click on the ‘Save’ button.


Save your changes and close Notepad++
Now upload your updated ‘index.php’. We don’t need to upload the Dockerfile file because we didn’t changed anything.

When prompted, click ‘Yes’ to overwrite the existing file.

Docker build
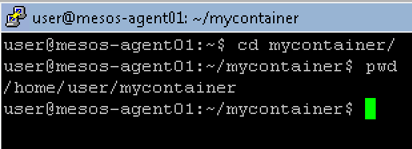
Back to your terminal window (on server01), run the following commands and verify that you’re in the correct directory:
cd mycontainer
pwd
docker build -t mycontainer:5.6 .
Note
Note the ‘.’ at the end of the command.

This command specifies that you want to build a new container with the name mycontainer and the tag ‘5.6’.
Running docker images you should see your new container.
docker images

Verifies that it works by running
docker run -d --name myapp -p 8080:80 mycontainer:5.6
Note
The option ‘-d’ makes the container run in the background. We get our prompt back.
We can check it is up and running by connecting to http://10.1.10.11:8080 in Chrome.

Note
Pay attention to the difference in Server IP (server01 is 10.1.10.11)
You are now running a supported version of PHP on the same host that was previously running an unsupported version. Similar to the virtue of running vCMP; containers make it easier to run multiple versions of software on the same platform.i
Bonus Activity
Rebuild mycontainer to run using the php:7-apache image. PHP 5.6 is also approaching end-of-life and PHP 7 is the most recent version! Do not delete the image mycontainer:5.6